
Scotland has a short but intense growing season which can be extended by 3 to 4 weeks by getting seedlings started early with a bit of warmth and cover before they are moved to their final growing position. This gives us a reliable number of plants to fill every space in our growing beds and also enables us to predict when crops will be ready as growing conditions are standardised.
Indoor sowing
There are 3 stages in growing plants indoors
1. Sowing – Directly into a modular tray or pot.
2. Pricking out- Into a modular tray or pot if required
3. Potting on – This may be unnecessary except when the crop is container grown such as Tomatoes, Peppers, Cucumbers
Conditions for growing
To germinate seeds require steady heat and humidity thereafter they require light and airflow. The optimum temperatures for germination of each vegetable varies however 18- 25°C with a night temperature of above 18°C will germinate most vegetables. The relative humidity should be 60-90% water lightly in the morning and again early afternoon on days that are not overcast or cold.
Good air flow is important to prevent damping off (fungal growth). In a home situation grow on a draught-free window ledge.
Sowing in Modules and Trays
1. Make sure compost mix is quite wet and sticky just before soil hold together in a ball.
2. Fill modules to the brim, strike off excess with a stick or brush. It is important they are uniform to avoid any drying out inconsistencies.
3. Firm down to remove air pockets by dropping tray 5-6cm onto bench to settle
4. Seed 2 per module (1 for Beetroot or Chard) then just cover with dry mix of compost to avoid drying out. Large seeds are sown singly by pushing them into compost 1 and ½ times their width and covering.
5. Module trays should be filled up 5/6 of the way for water retention.
6. Label the with date of sowing and variety
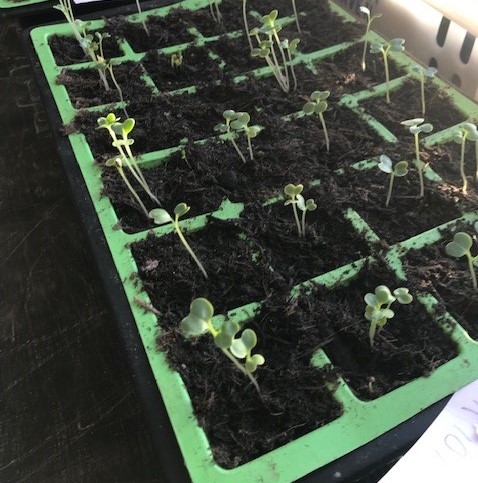
Seedling Establishment
Sowing and growing on of seedlings is the most vulnerable time of production. Low light levels result in leggy growth. If this occurs space them out for light. Sudden low night time temperatures can result in bolting or death. Always lay containers out together in their sizes as they will have a similar watering requirement this makes aftercare simpler.
Seedlings are vulnerable to drying out and overheating be careful to supply a humid lightly shaded environment especially just after germination and pricking out.
Hardening off
Growing in ideal conditions means that the seedlings have thin cell walls and are vulnerable to wind damage. To ensure the seedling is not stressed by a sudden change in environmental conditions when planted out it must be gradually exposed to garden conditions over a 2-3 weeks before planting out. This can be done by leaving out during the day under a fleece, in a box (lid open) or a sheltered spot in the garden. Alternatively, you can stroke the tray for 1min/ day in the glasshouse with paper or cardboard to strengthen the seedlings.
Planting out
When transplant ready choose an appropriate day that is not wet, cold, windy or too sunny.
1. Water transplants several hours before very heavily this is more important than watering in after planting
2. Remove any weeds
3. Lightly fork over top surface of soil (except Brassicas which like it firm)
4. Lightly rake not as fine a tilth as direct seeding as this will encourage germination.
5. Mark out with a rake with marking pegs or measure on a line remove one at a time or with a peg board and lay out.
6. For vegetables that require staking such as Beans put the stake in first.
7. Plant with a hand trowel, or a dibber. Do not use a dibber in heavy wet soils as it gets compacted The transplant must have no air pockets or be set proud of the soil or it will dry out.
8. Always make sure you have a few extras in case of bird damage.
9. Protect Brassicas from birds with a crop cover.
10. Water in after planting unless soil is very damp
11. Make sure soil is kept moist for the next few days